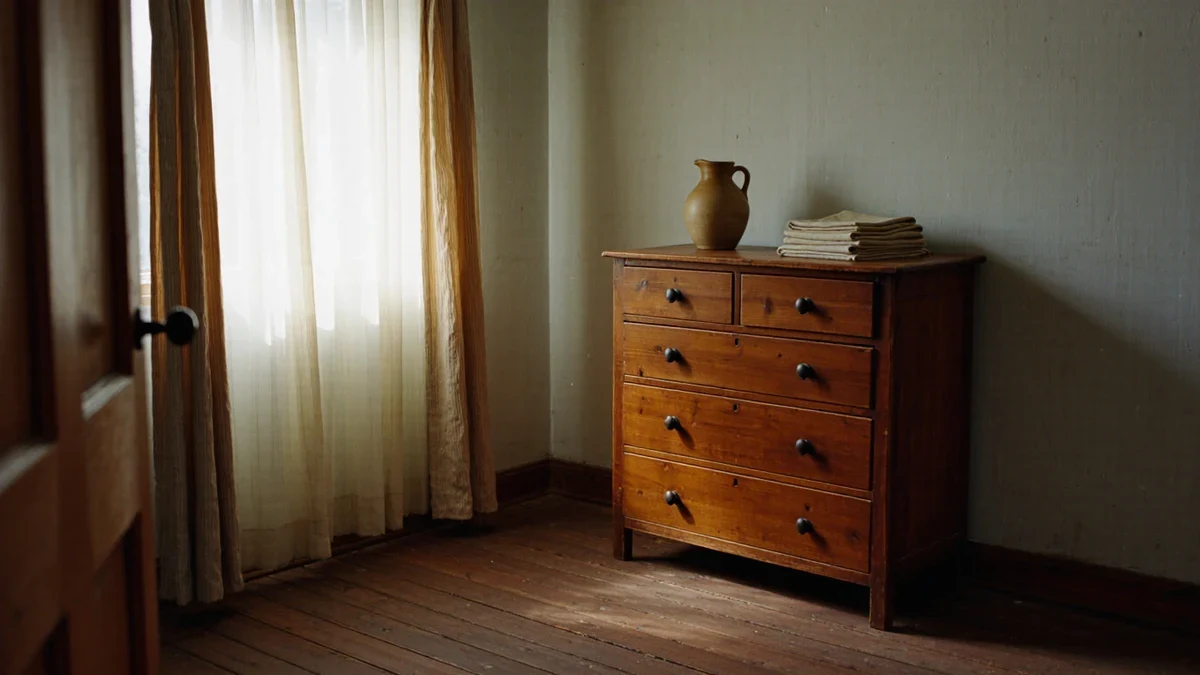
Museum conservators keep antique wood furniture alive with remarkably little product: dust control, stable conditions, and sparing paste wax. The U.S. National Park Service's Conserve O Gram guidance notes that paste wax over a clear finish protects against abrasion from dust and handling, and warns that most liquid and aerosol polishes contain silicones harmful to historic finishes.
What does routine care of antique wood involve?
Conserve O Gram 7/2, the Park Service leaflet on waxing furniture frames routine care as mostly a matter of leaving the piece alone in good conditions. Frequency of waxing depends on environmental factors such as dust, relative humidity and light; in a furnished historic structure, most objects require rewaxing only every one to four years, and objects in exhibit cases may go ten years between treatments. As a rule, the leaflet advises, rewaxing is not necessary as long as the existing wax layer can be buffed back to a sheen. The everyday version for a home is simpler still: dust with a clean, soft cotton cloth, keep the piece out of direct radiators and damp corners, and reach for polish only when buffing no longer brings up the shine.
How do you clean a dull finish?
Conserve O Gram 7/1, on cleaning wood furniture begins with a caution: cleaning should be performed only as needed, not on a routine schedule, and it should be attempted only on surfaces that have a sound, stable, clear finish or are completely unfinished. Loose soil comes off first with a clean soft cotton cloth or a vacuum with a soft brush attachment. The leaflet is also explicit about restraint: some furniture has developed a surface patina, accumulations of finish, wax, and soil that may be considered an integral part of the piece's appearance, and wear and soil patterns can indicate historic uses and contribute to its unique value and character. In other words, the dullness a buyer might be tempted to scrub away can be the document that makes the piece worth owning.
Where cleaning is warranted, the leaflet's sequence is a test first, mineral spirits applied with a cotton swab to a small inconspicuous area; if the finish softens, stop and consult a conservator who specializes in furniture. Only then does wiping with a cloth dampened in mineral spirits follow, and stubborn dirt may call for a weak mild-soap solution wrung out well. Household readers should treat those solvent steps as a conservator's protocol, not a Saturday project.
How do you wax antique furniture properly?
The Park Service's published waxing sequence, adapted for a careful owner working on a stable, clear finish:
- Confirm the surface: paste wax belongs only on stable, clear finishes such as shellac, lacquer and varnish, never on bare wood, where wax penetrates the pores and becomes nearly impossible to remove.
- Test in an inconspicuous spot to check whether the wax's solvent softens the finish.
- Choose the wax: museum-recommended paste waxes are formulated with weaker organic solvents such as turpentine or mineral spirits; avoid waxes with stronger solvents like xylene or toluene.
- Apply sparingly with a clean cotton cloth, first in a circular motion, then along the grain; on carved surfaces use a small soft brush.
- Wait thirty to sixty minutes, then buff with a clean cotton cloth; if the luster is uneven, repeat rather than thickening the coat, since two thin coats are preferable to a single thick one.
Which products belong nowhere near an antique?
| Product | Museum guidance, per the National Park Service |
|---|---|
| Paste wax (turpentine or mineral spirits base) | Appropriate on stable clear finishes; applied sparingly and buffed |
| Liquid and aerosol polishes | Avoid: most contain silicones that could be harmful to finishes |
| Strong-solvent waxes (xylene, toluene) | Avoid: can damage some finishes and are a greater health hazard |
| Wax on bare wood | Do not use: wax penetrates the pores and is nearly impossible to remove |
How do light, humidity, and handling affect old wood?
The Park Service's leaflets treat the room, not the bottle, as the primary care product. The waxing leaflet keys its whole schedule to environment, noting that frequency of waxing depends on dust, relative humidity and light, which is why the same piece may need attention every year in one room and every fourth year in another. The cleaning leaflet's enemies are handling and dust: wax exists to protect finishes from abrasion, and every unnecessary polish is itself an abrasion event. At home the translation is direct, keep antique pieces out of the line of radiators and sunny sills, leave a hand's width when passing with bags and vacuum cleaners, and let dusting with a dry cotton cloth be the default interaction. An annual inspection in late spring, checking for new losses, loose fittings, and changes in the finish, catches small problems while they are still small.
How much wax is enough, and how often?
Less than instinct suggests. The leaflet's rule is that rewaxing is not necessary as long as the existing wax layer can be buffed to a sheen, so the first response to a dull surface is a clean cloth and two minutes of effort, not a new coat. When a coat is genuinely due, every one to four years in a lived-in room by the museum schedule, the technique matters more than the frequency: sparing application, circular then with the grain, a drying window of thirty to sixty minutes, and two thin coats rather than one thick one, because excess wax turns sticky and attracts the very dust it is meant to repel. Owners who wax annually are, on this guidance, over-waxing, and the sticky shelf of old tins in the cellar is usually the evidence.
A note on expectations completes the picture. Museum guidance is written to preserve evidence, not to manufacture shine, so a correctly cared-for antique will look quieter than a freshly sprayed modern piece, its wax sheen soft, its patina intact, its scratches legible as history. Owners who want a mirror finish on old wood are asking a conservator to remove the record, and the leaflets decline. The reward for the restraint is furniture that survives its owners: the same wax-and-dust regime, run occasionally and patiently, is what has carried eighteenth- and nineteenth-century pieces into living rooms still wearing their original surfaces.
When should you call a professional conservator?
The leaflets draw the line clearly. A finish that is embrittled, cracked, raised, or flaking is not a cleaning candidate; a finish softened by the swab test is not either. Questions of patina and historic value, and any treatment beyond dusting and buffing on a fragile piece, belong with a furniture conservator. Repairs to structure, veneer loss, and infestation are likewise professional work. The owner's job, as the Park Service tells its own curators, is the unglamorous and effective part: keep the dust off, keep the conditions steady, and let a thin coat of the right wax do the rest, roughly once every few years rather than once a season.