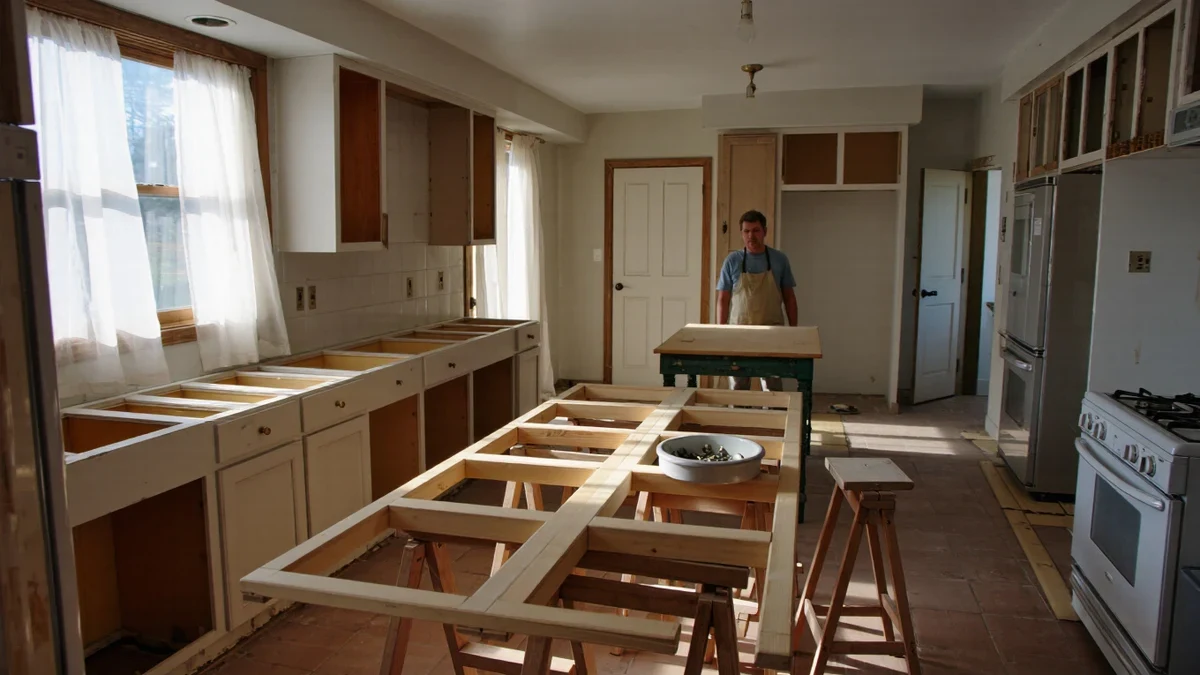
Painting, not replacing, is the fastest honest cabinet refresh: The Spruce's guide calls a fresh coat of paint the least expensive way to change wood cabinets, and Home Depot's six-step project guide agrees. The work lives in preparation. Dark wood needs its grain filled, and factory finishes need sanding before any primer is opened.
Why repaint instead of replace?
Repainting keeps the cabinet boxes, layout and hardware placement exactly where they are, which is why suppliers describe it as the budget route to a new-looking kitchen. The Home Depot guide frames its six-step project as the way a homeowner "was able to make a big impact" on dated cabinetry without a renovation. Repainting also avoids the dust, demolition and lead-time that come with ripping out boxes. According to Home Depot's published project guide, planning the sequence in advance is what keeps a weekend job from becoming a month of half-painted doors. The trade-off is patience: doors need flat space to dry, and every surface needs the same prep discipline for the finish to last.
What preparation do painted cabinets actually need?
Preparation is the difference between a finish that holds and one that peels within a season. Every surface must be cleaned, degreased and sanded before priming, because kitchen grease and old gloss both block adhesion. The Spruce's instructions are specific about the failure points, and they are worth quoting closely.
In The Spruce's cabinet-painting guide, the author notes that dark wood heading lighter needs its grain filled first: "If your cabinets are a dark wood, and you wish to have light colored cabinets, you will need to fill the wood grain prior to priming." The same guide advises that cabinets with a factory-applied finish be sanded so the new paint can grip. Degreasing comes before any of that, typically with a dedicated degreasing cleaner and clean rags, followed by a light wash and full drying time.
Which primer and paint should you use?
A stain-blocking primer is the default recommendation for previously finished cabinets, because wood tannin and decades of cooking residue bleed through ordinary primer as yellow shadows. The Spruce recommends priming before any repaint of an already-finished surface, and sanding between coats so the layers bond rather than stack. Water-based enamel paints have become the common choice for home projects because they clean up with soap and hold a harder film than wall paint; oil-based alternatives level beautifully but demand ventilation and solvent cleanup.
| Cabinet starting point | Documented prep | Why it matters |
|---|---|---|
| Bare or stripped wood | Fill grain on open-pore woods; sand smooth; prime | Prevents the grain from telegraphing through light paint |
| Factory-applied finish | Sand the surface before priming | Creates tooth for the primer to adhere |
| Previously painted cabinets | Clean, sand, spot-prime repaired areas | Levels old brush marks and locks in stains |
One safety note belongs here rather than in a footnote: homes built before 1978 may have lead paint under the visible coat, and sanding it is a job for a certified lead-safe professional, not a weekend project.
What is the step-by-step painting sequence?
Follow the sequence below, which follows the published supplier guidance.
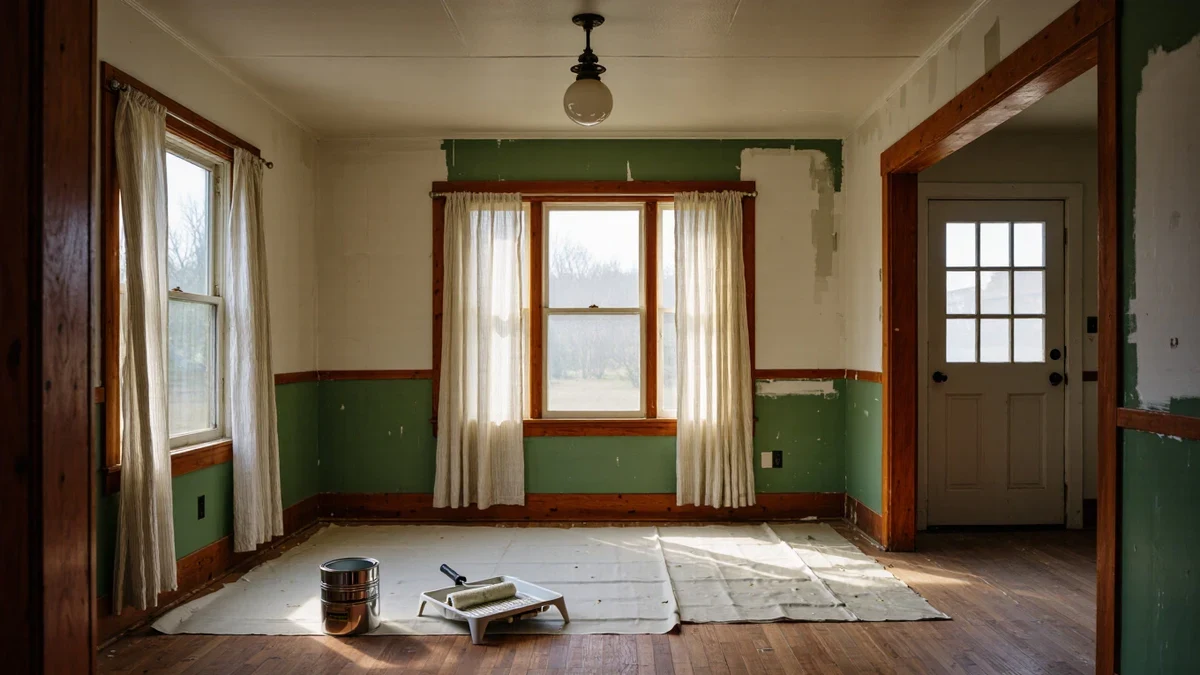
- Set up a staging area with a drop cloth and enough flat drying space for every door and drawer front.
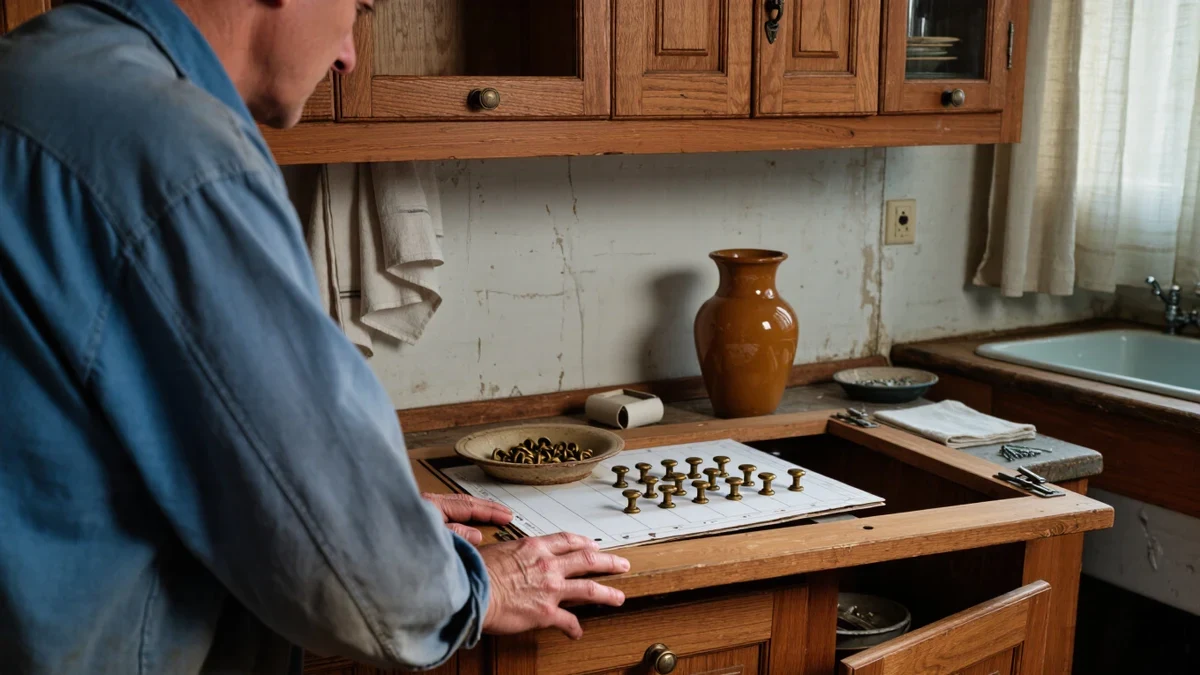
- Remove doors, drawers and hardware, and label each piece so it returns to its exact opening.
- Clean and degrease all surfaces, then let them dry fully.
- Sand lightly, wipe away dust, and fill the grain on dark or open-pored woods heading lighter.
- Prime with a stain-blocking primer, then sand lightly between coats.
- Paint in thin, even coats, working edges first and flat panels second, and reassemble only after full cure.
Home Depot's guide runs the same arc from planning to reassembly, and its six steps match the sequence above almost line for line, which is reassuring for anyone nervous about the order of operations.
How long does a cabinet refresh take?
Longer than the paint aisle suggests, and the timeline is worth planning like a project rather than a chore. Count the doors and drawer fronts first, because each one needs flat drying space and both faces painted; a typical kitchen runs into the dozens of pieces. Working in batches, with primer and two topcoats on each surface and drying time between every coat, most careful painters spread the work across a week of evenings and weekends rather than a single heroic Saturday. The room can stay in use the whole time if the boxes are painted in place and the doors come off in rotation, leaving half the kitchen functional on any given day. Cure time is the quiet variable at the end: paint that is dry to the touch is not yet hard, and supplier guidance treats gentle handling in the first weeks as part of the job.
Hardware is the scheduling gift inside the project. With every door off its hinges, swapping pulls and knobs is a five-minute decision per piece rather than a retrofit, and new hardware is the least expensive way to shift a repaint from dated to deliberate. Bring one old pull to the hardware store to confirm the screw spacing matches, or fill and redrill when it does not. A painter's tape label on each door's edge, kept with its own hardware in a numbered bag, is the unglamorous habit that makes reassembly boring in the best way.
What finish choices change the look most?
Sheen does more work than color. A low-sheen enamel hides surface imperfections and suits older boxes whose surfaces carry decades of history; higher sheens read more contemporary and clean faster, but they telegraph every brush mark and grain line that prep did not remove. Color follows the architecture: light colors open a small kitchen and show the grain-filling work described above, while deep greens, blues and near-blacks forgive more and photograph beautifully, at the cost of showing dust sooner. Whatever the choice, buy one quart first and paint a single door fully, because a color that behaves on a swatch can shift on a large veneered surface under kitchen light.
When should a professional take over?
Some cabinet refreshes are not paint jobs at all, and suppliers say so plainly. Heavily damaged boxes, veneer that is lifting, or a desired door style that no paint color can imitate point toward refacing or replacement, which is a different trade. Spraying a factory-smooth finish is also a skill: professional painters tent kitchens and spray off-site, and the result shows it. Structural changes, new cabinetry installation and anything involving wiring for under-cabinet lighting belong to licensed trades in those words. What a careful reader can do, with a sander, primer and patience, is the documented sequence above, on their own schedule and at their own budget.