Swapping cabinet hardware is the fastest permanent-looking kitchen update most homes can absorb, and the entire job turns on one number: the center-to-center distance between screw holes. The DIY bloggers behind Young House Love, who have installed three kitchens' worth of pulls, describe drilling cabinet holes as unforgiving work with little room for error or do-overs.
Why does new hardware change a kitchen so quickly?
Because hardware is the jewelry of the cabinetry: dozens of small repeated touches that read as one decision. Brass pulls against painted doors, or unlacquered knobs against oak, shift the room's temperature faster than any single appliance or accessory could. In one documented Apartment Therapy makeover published in September 2026, a renter named Alli added new cabinet pulls and drawer handles alongside a runner, a lamp, artwork, and linens, and summarized the result plainly: a few small changes with a big impact.
The economics are equally direct. A kitchen's worth of knobs and pulls costs a fraction of refacing or repainting, and the work is an afternoon, not a week. Young House Love also notes that buying hardware in bulk can keep costs down, which matters when a run of twenty drawers needs matching pulls.
What tools does the job actually require?
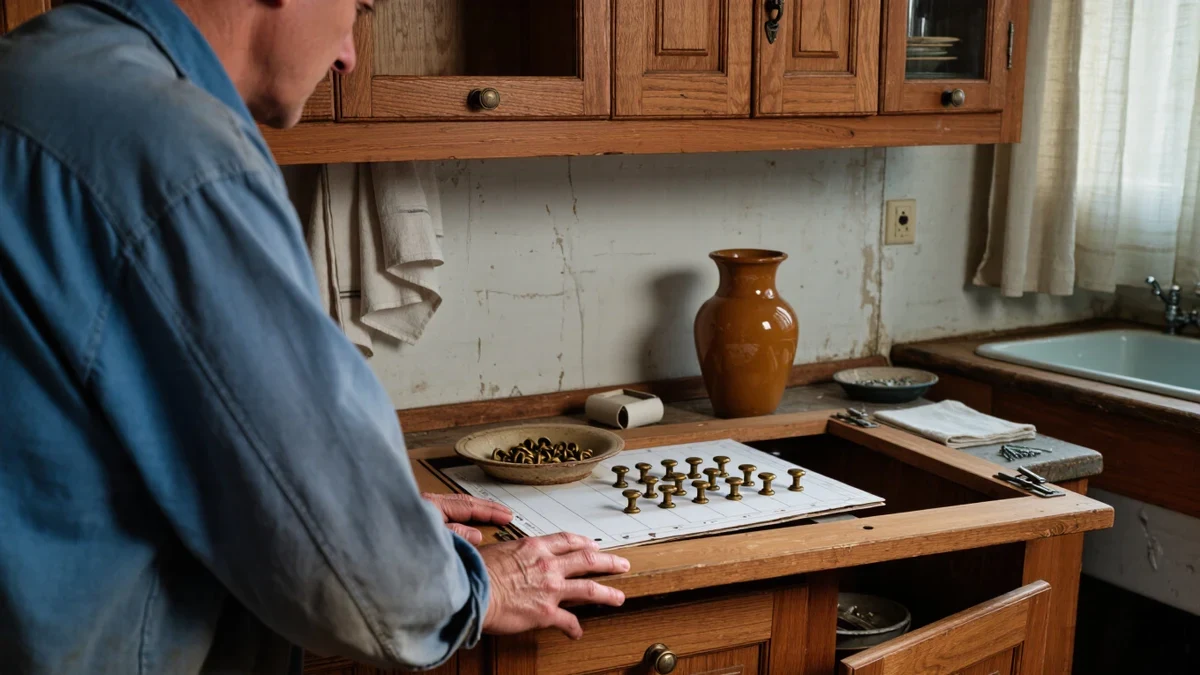
Young House Love's published tool list for the job is short and specific: the pulls or knobs themselves, a two-pack of hardware templates, a tape measure, a screwdriver matched to the hardware's screws, a power drill, and a 3/16-inch drill bit, with a 5/64-inch bit for pilot holes. The templates are the piece most first-timers skip and most regret skipping, because they transfer one measured layout to every door in the run.
The same post stresses why the jig matters. Unless a buyer is comfortable replacing an entire door or drawer front, everything needs to be centered and level on the first try, since a misdrilled hole in a cabinet face cannot be un-drilled. A template turns that pressure into a repeatable movement: set, clamp or hold, drill, repeat.
What is the step-by-step drilling sequence?
The sequence below follows the process Young House Love documented across their duplex kitchens.
- Measure the center-to-center distance of the new pulls, and confirm it against any existing holes before buying.
- Set the hardware template to that spacing and position it consistently on each door, opposite the hinges on doors, centered or edge-aligned per the chosen layout on drawers.
- Mark the hole positions through the template with a pencil or awl.
- Drill a pilot hole with the small bit, then drill the full hole with the 3/16-inch bit, keeping the drill perpendicular to the door face.
- Hold the pull in place, insert the screws from inside the cabinet or drawer, and tighten with the screwdriver rather than the drill to avoid spinning the fitting.
- Check alignment across the whole run before calling the job done, since one drifted door will stand out immediately.
What if the new holes do not line up with the old ones?
Two honest options exist. The clean one is choosing hardware whose screw spacing matches the existing holes, which limits selection but involves nothing more than unscrewing the old fitting and installing the new one. The other is filling the old holes with wood filler, letting it cure, sanding flush, and touching up paint or stain before drilling the new layout, the path anyone changing pull lengths has to accept.
Fill-and-redrill is well within a careful amateur's reach, but it rewards patience: filler shrinks, so two thin applications beat one thick one, and the patch should be invisible at conversational distance before drilling restarts. On veneered or laminate fronts, the filler patch is harder to disguise, which is a reason to check the door material before committing to a new hole pattern.
What should stay off the DIY list?
Cabinet knobs and pulls are fair game because the work is mechanical and low-risk. Anything behind the cabinet line is not: replacing wiring, moving outlets, or swapping a hardwired fixture is electrical work for a licensed electrician, in those words, and no cosmetic refresh justifies improvising there. Plumbing a new faucet line similarly belongs to a plumber.
Within its limits, the reward is durable. The Apartment Therapy makeover that paired new pulls with peel-and-stick tile and secondhand accessories cost around three hundred dollars in total, a reminder that the smallest components in a kitchen, chosen carefully, often carry the largest share of the change.
How do you choose a finish that ages well?
Start from the cabinet color already in the room. Young House Love documented exactly this pairing across their duplex kitchens, installing nickel pulls against blue painted doors and the same hardware in brass against wood-toned doors, one finish chosen per cabinetry run. That is the whole decision model: warm woods lean toward brass and unlacquered tones, painted fronts carry nickel, chrome, or matte black, and the hardware’s own finish documentation governs cleaning thereafter.
Living finishes deserve a warning label read in advance. Unlacquered brass and oil-rubbed bronze are designed to darken and patina with handling, so a kitchen that wants a fixed look should stay with sealed finishes, while a kitchen that wants change should embrace it deliberately. Whichever camp a buyer lands in, the rule from the published guides is consistent: a soft cloth and mild soap, no abrasives, and the finish stays as chosen.
What mistakes does everyone make on the first run?
The documented failure modes are consistent. Measuring once and drilling immediately, instead of setting the template and marking every door first, which produces a run of pulls at slightly different heights. Letting the drill tilt, which makes holes oval on the back side of the door and gives screws nothing to seat against. And tightening with the drill driver, which spins the fitting against the finish and leaves a bright ring no polish removes.
The quieter mistake is inconsistency of placement style: pulls centered vertically on drawer fronts on one cabinet, edge-aligned on the next. Young House Love’s emphasis on keeping everything centered, level, and consistent throughout the entire kitchen is not perfectionism; it is the difference between hardware that reads as designed and hardware that reads as replaced. A pencil, a level, and ten extra minutes solve it.
How do you keep the new hardware looking right?
The same patience that installs it gently cleans it. Fingerprints and kitchen grease come off with a soft cloth dampened in warm water and mild soap, dried immediately, which mirrors the care language hardware makers publish across their finish guides. Abrasive creams and ammonia-based sprays, convenient on tile, are the enemy of plated and living finishes, dulling them unevenly.
High-touch pulls near the stove will need the cloth more often than drawer knobs in a pantry, and that is normal wear, not failure. The reward for the gentle routine is compounding: hardware installed carefully and cleaned carefully still photographs like new hardware years later, which is the quiet case for spending a little more per pull on a finish the room will live with for a decade.